How To Get Planning Center Ready For Your CrossCinq Wordpress Plugin
Navigate to https://home.planningcenteronline.com/
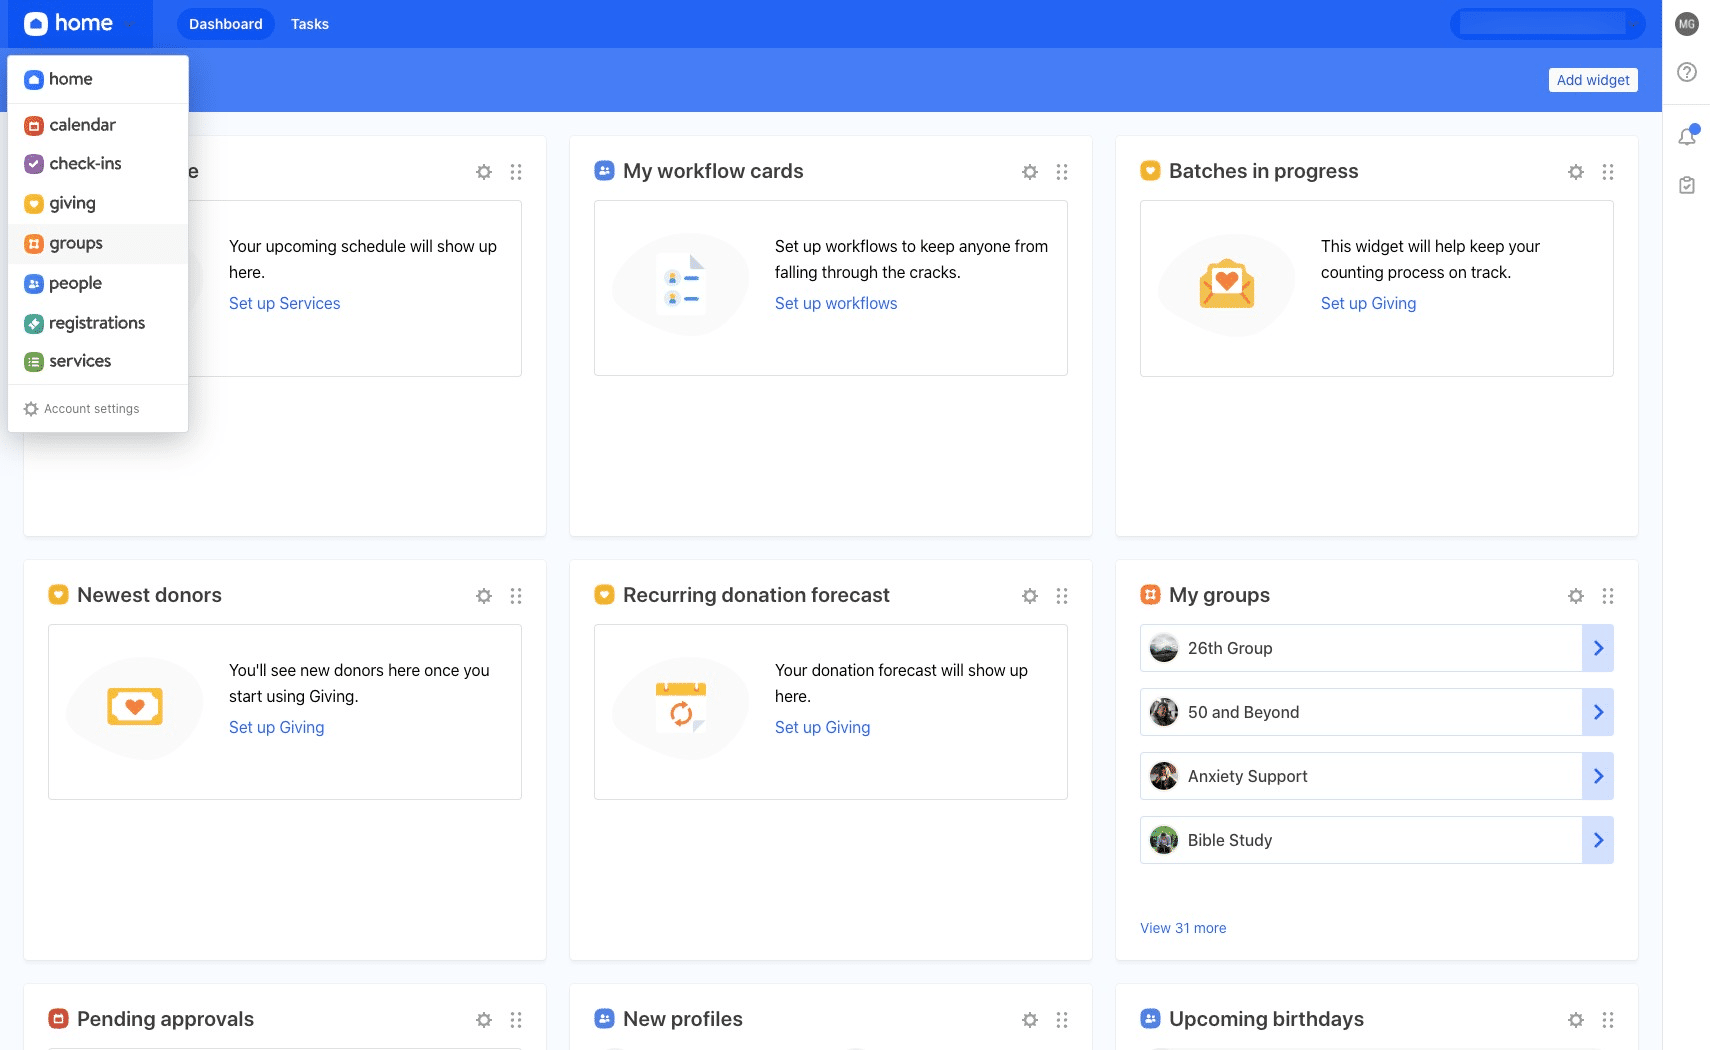
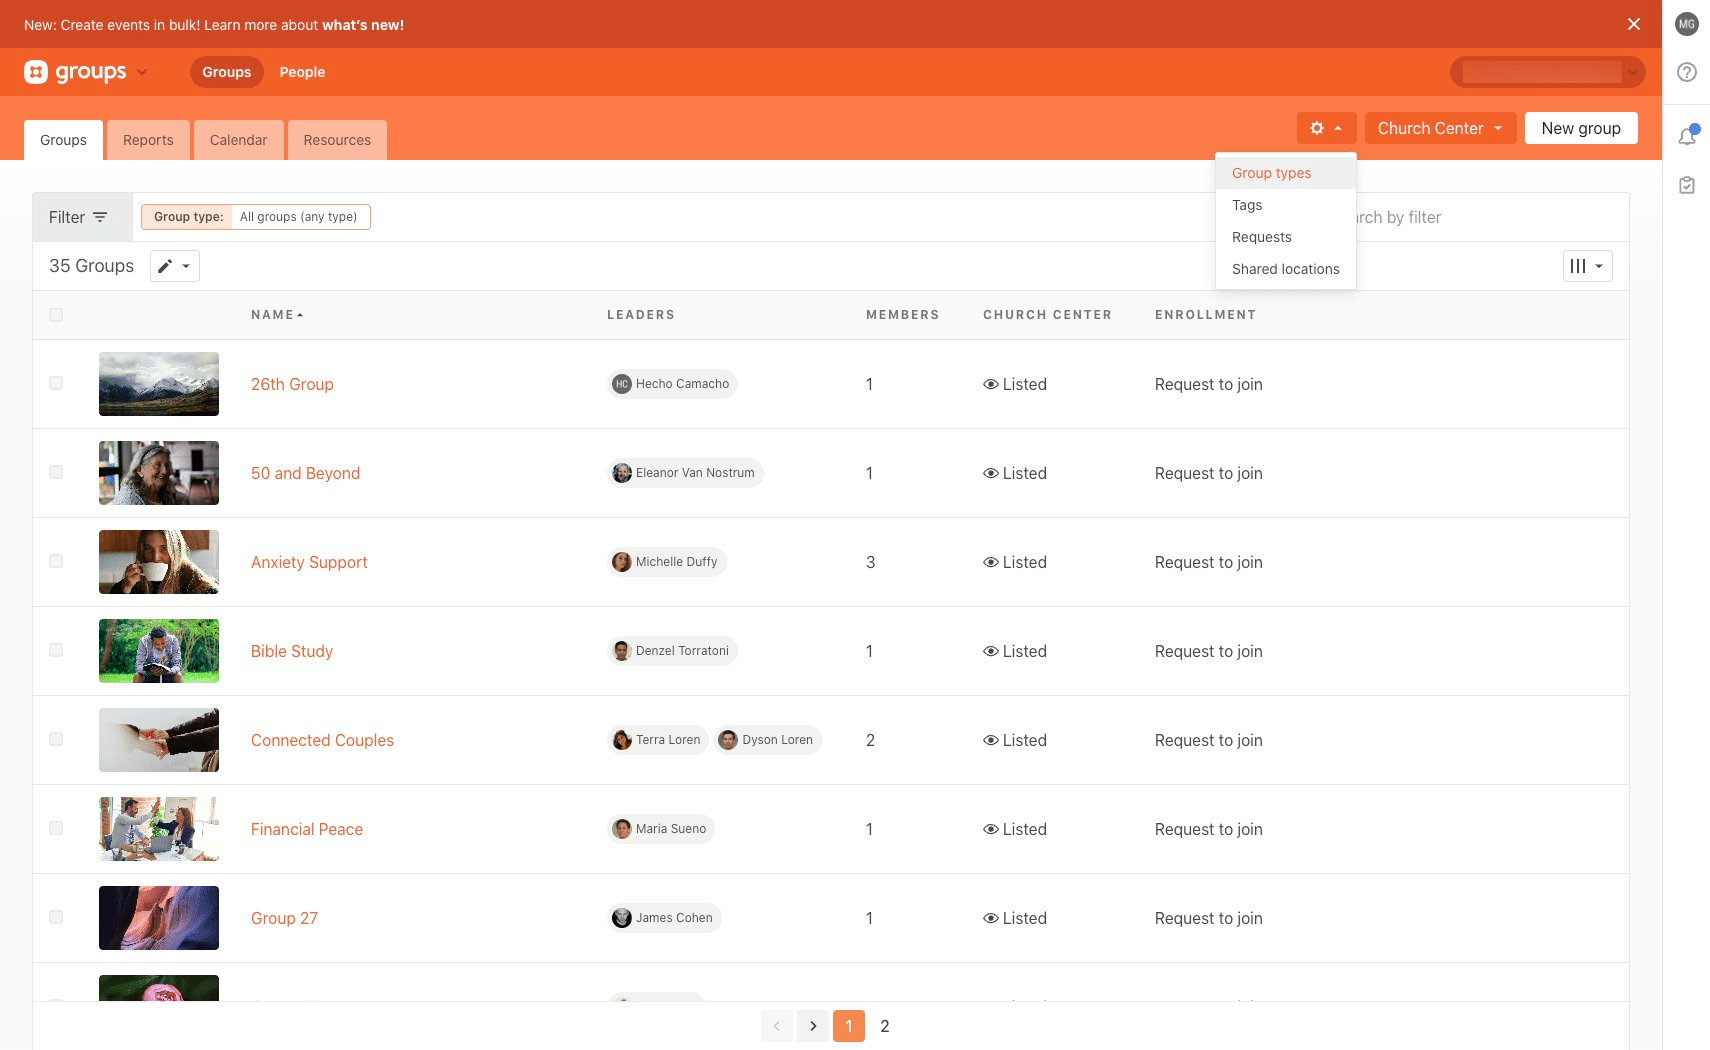
Click the carrot in the top left corner for your drop down options.
Select "groups"
To add/remove Group Types, click the carrot next to the settings cog wheel icon.
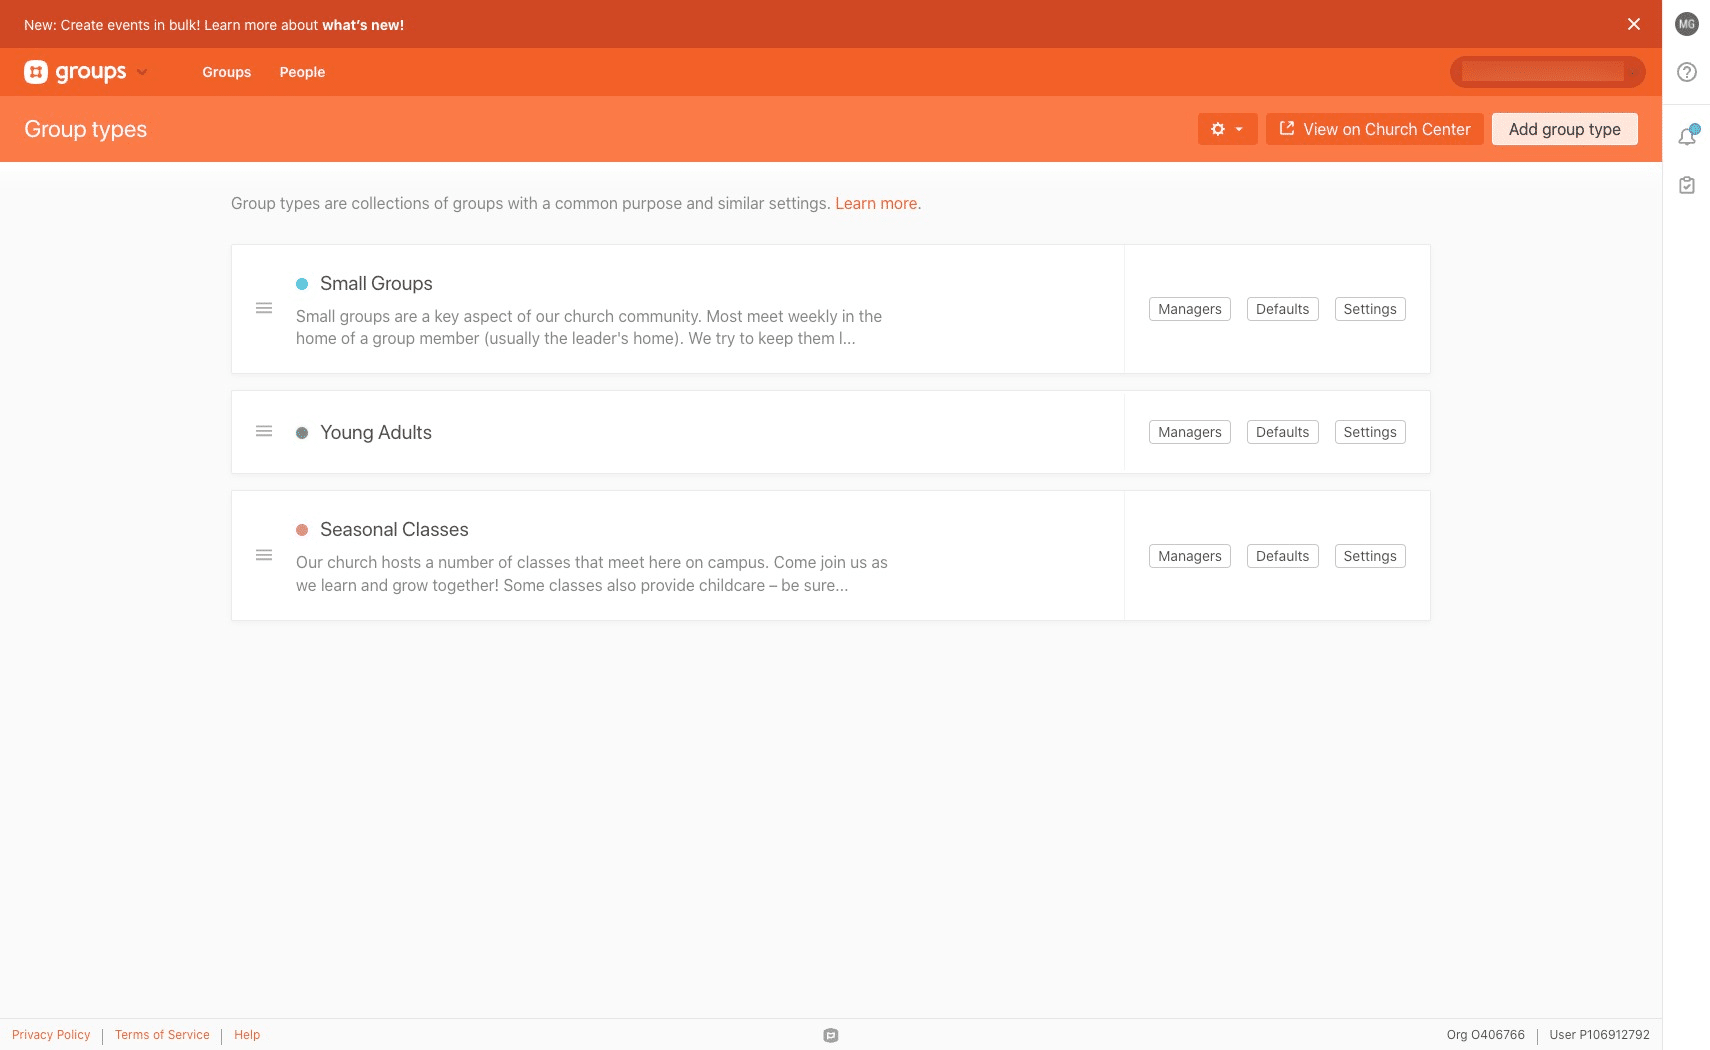
Select "Group types"
Click on "Add group type"
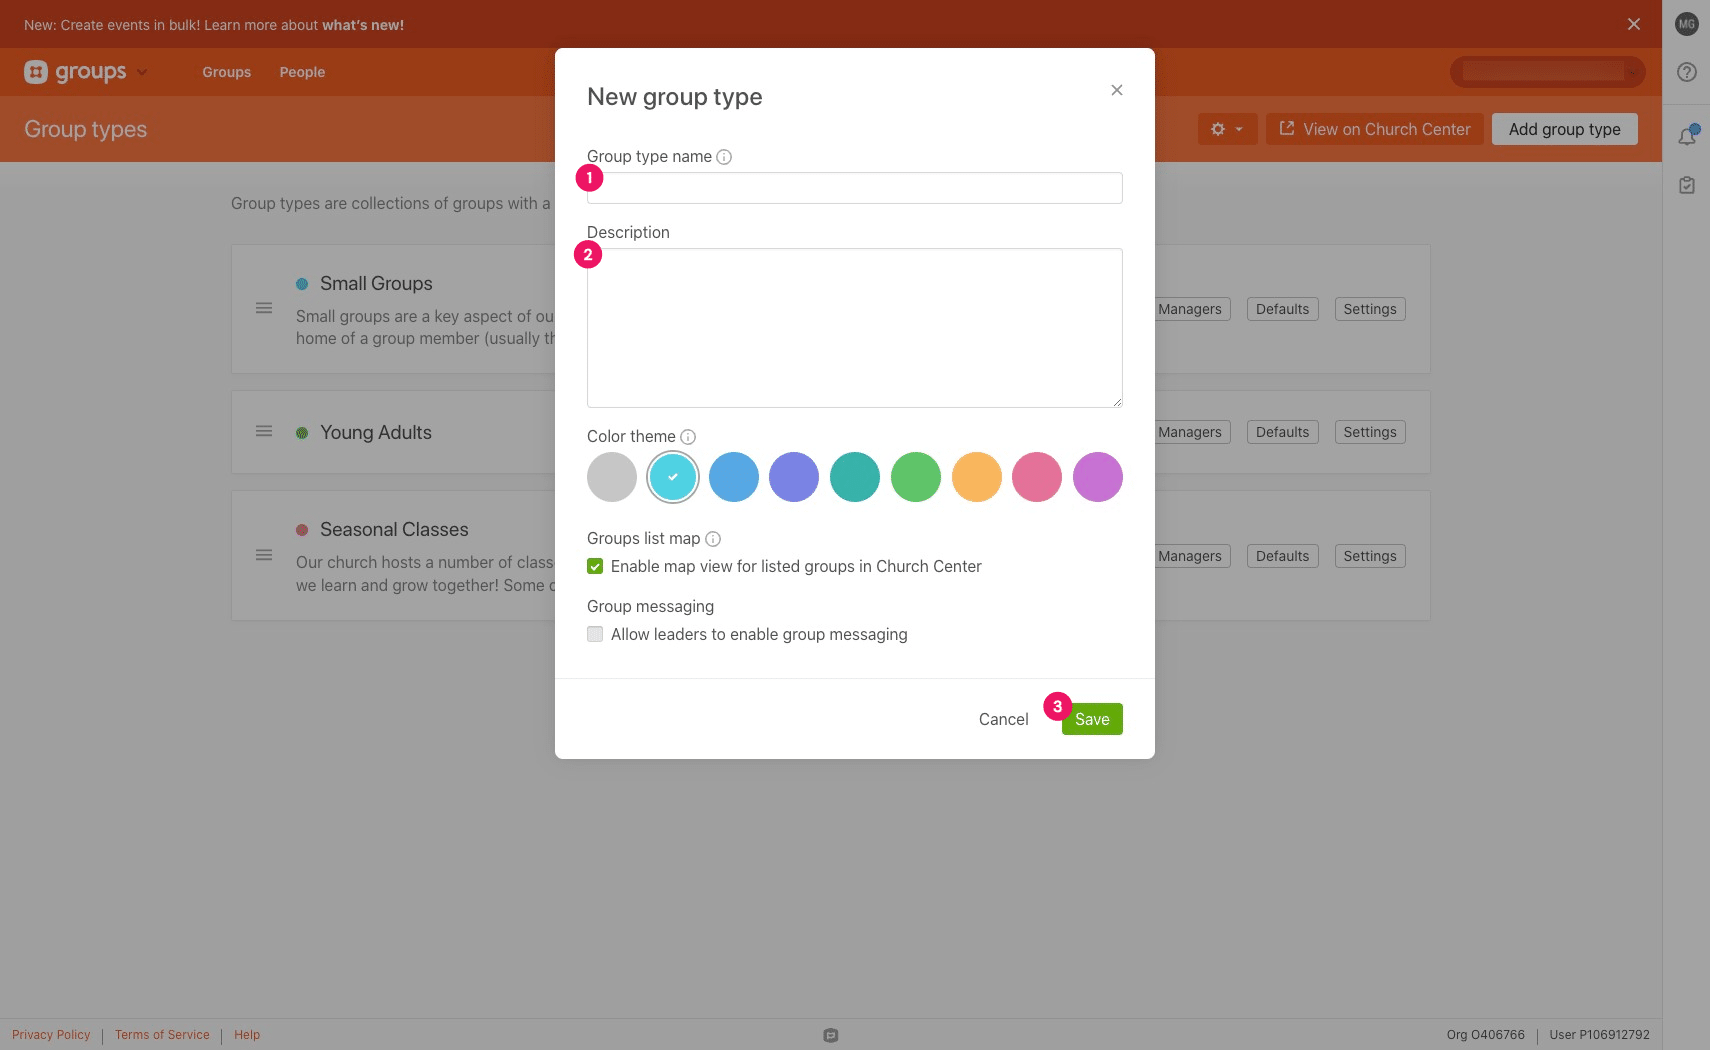
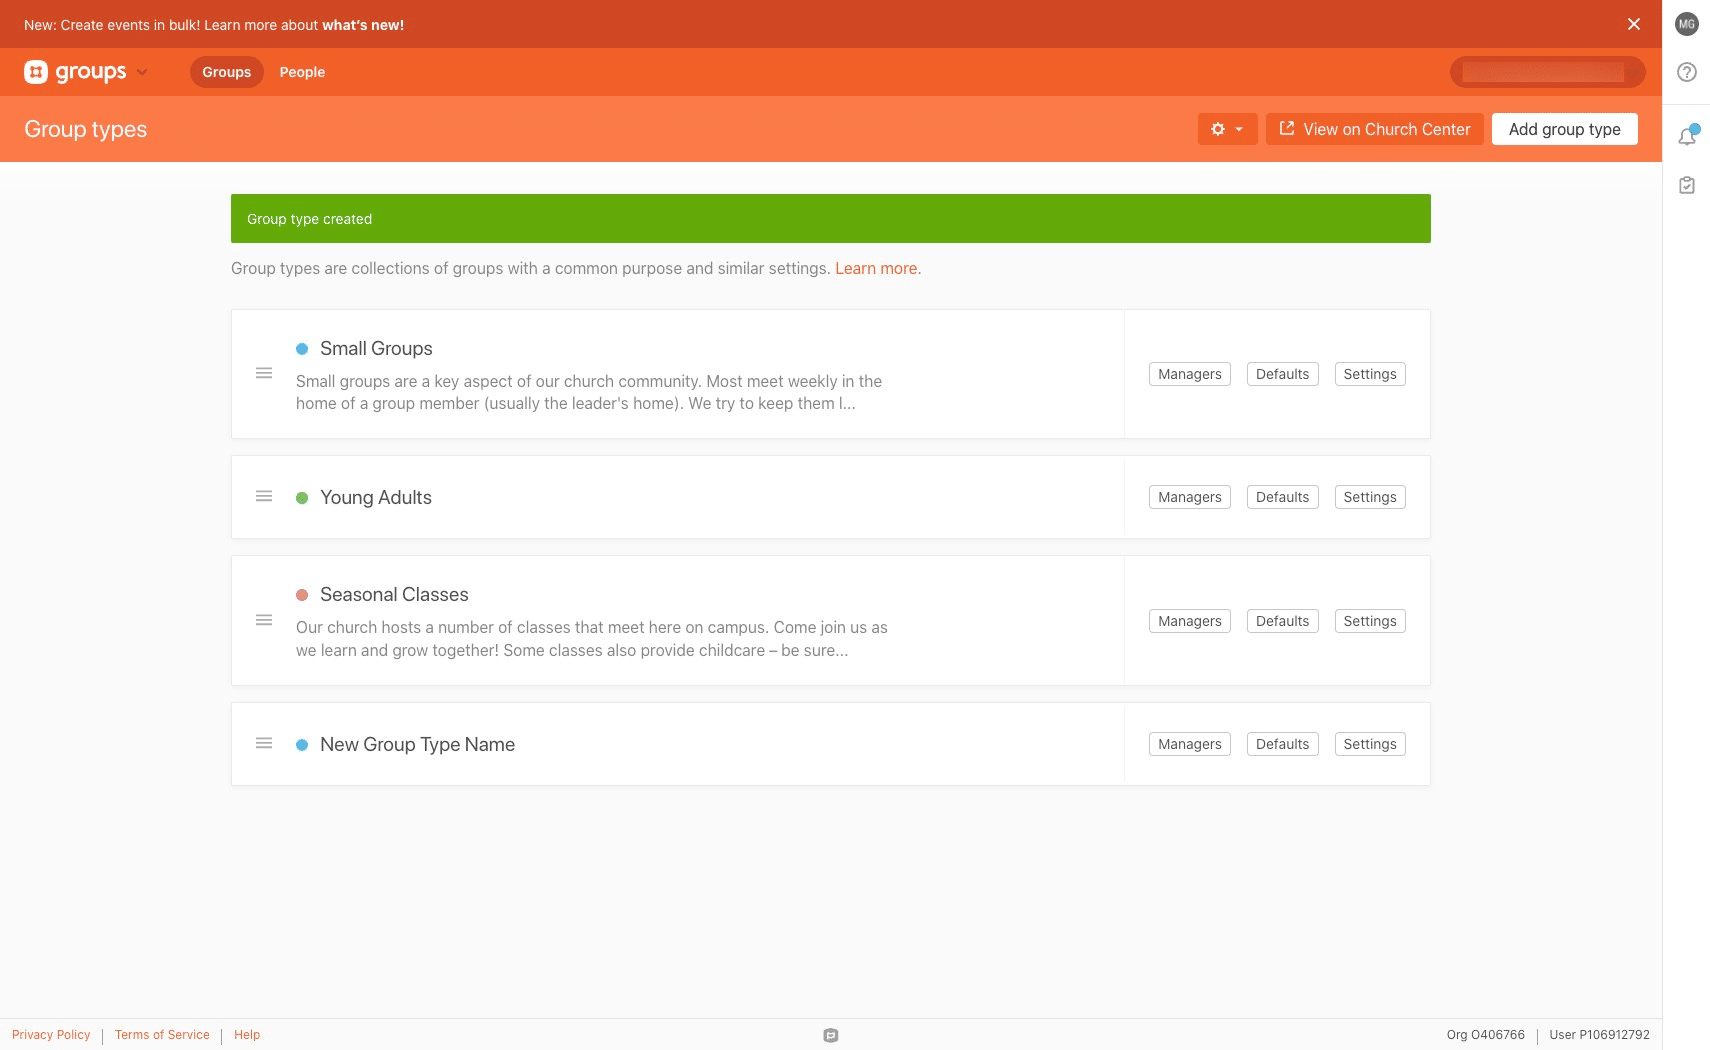
Fill in the information and click on "Save"
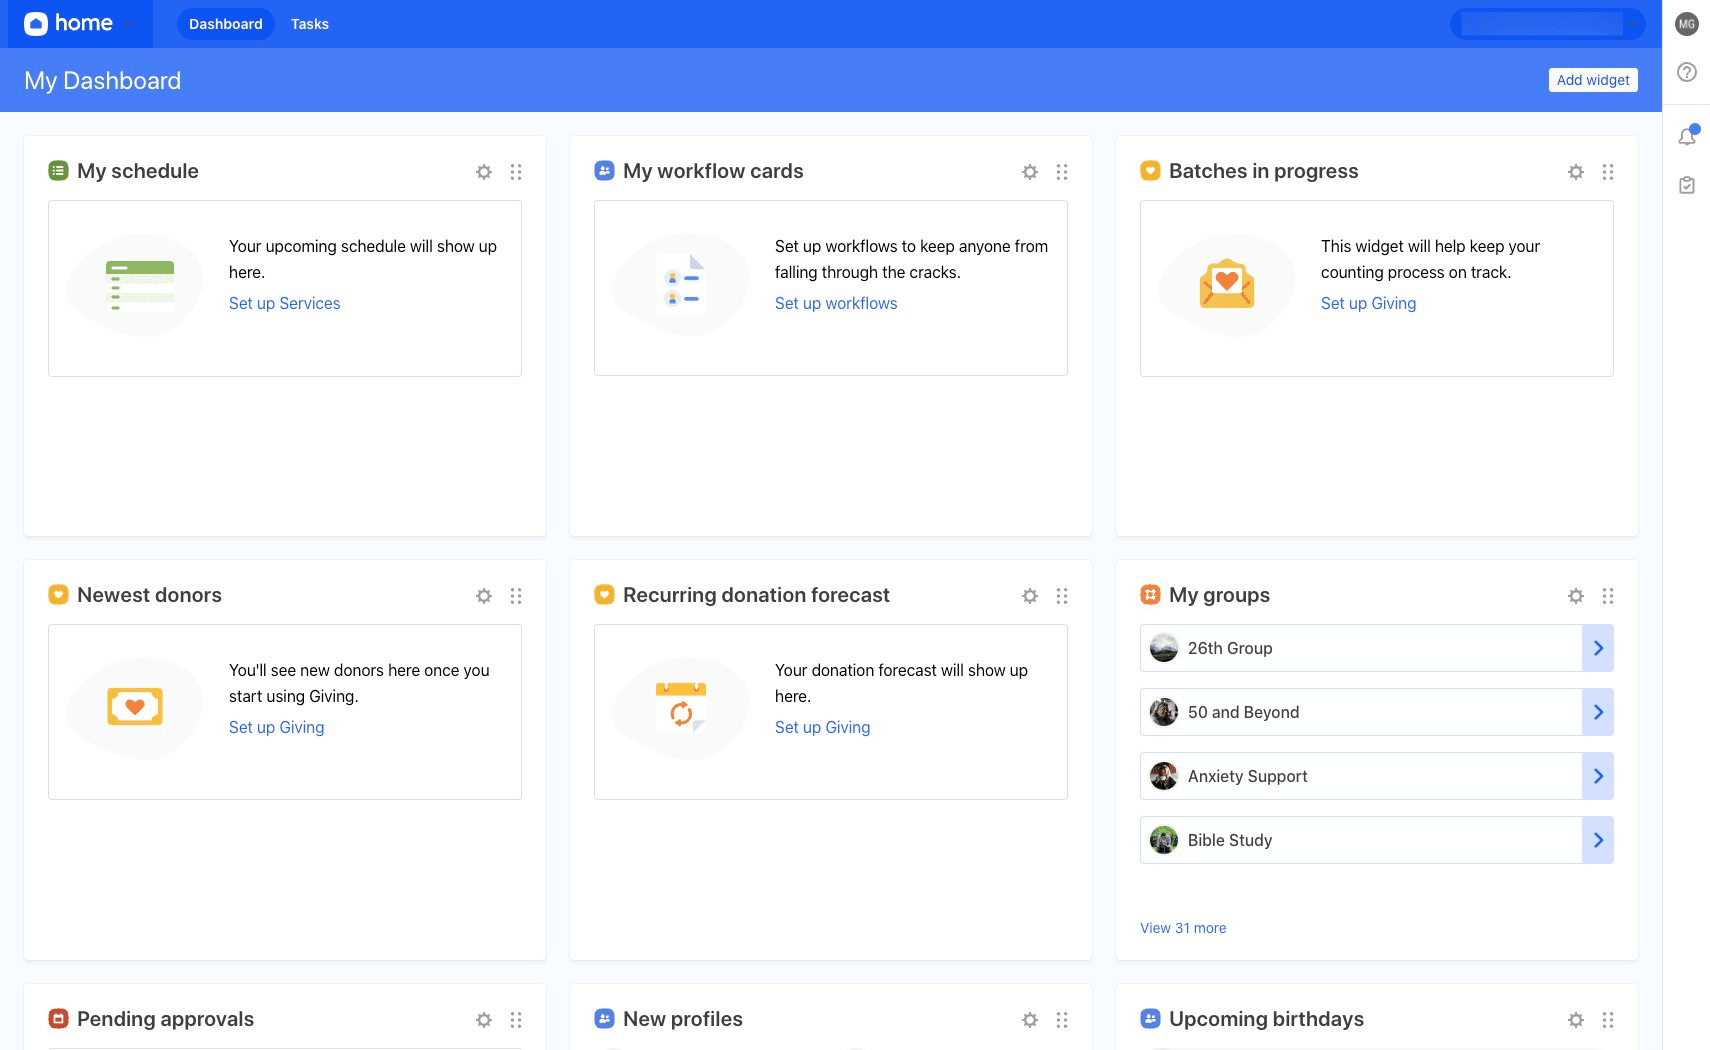
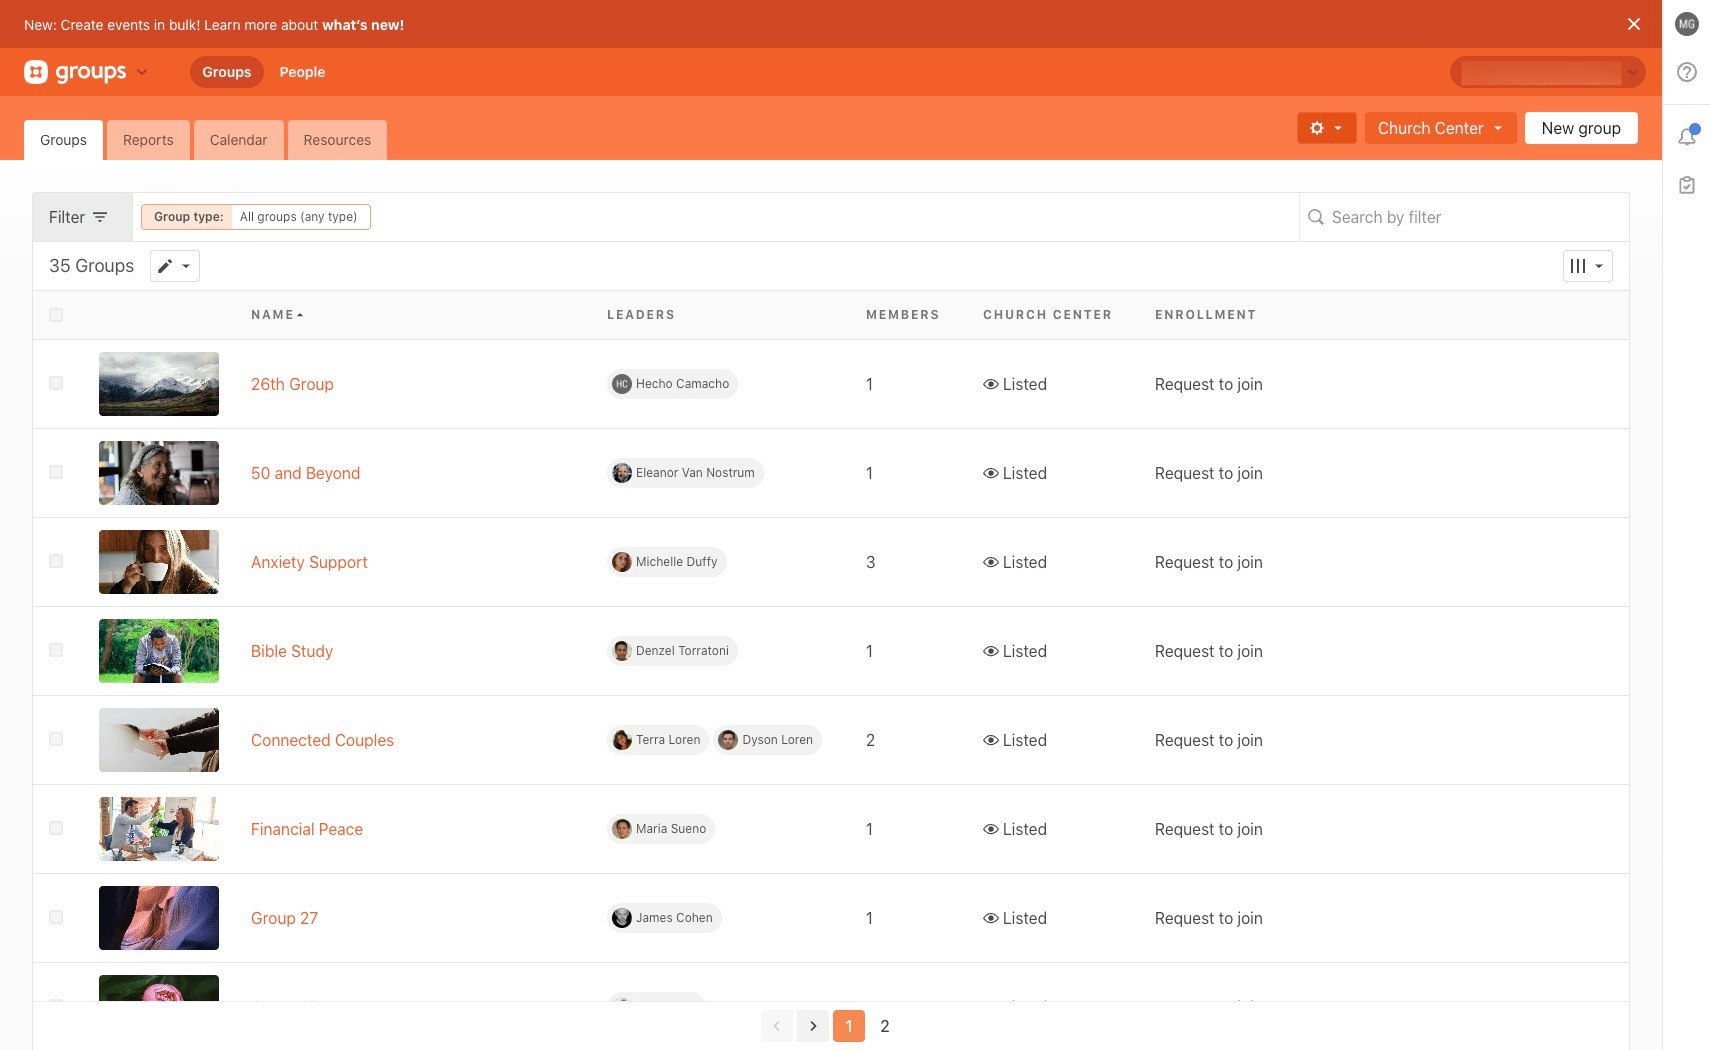
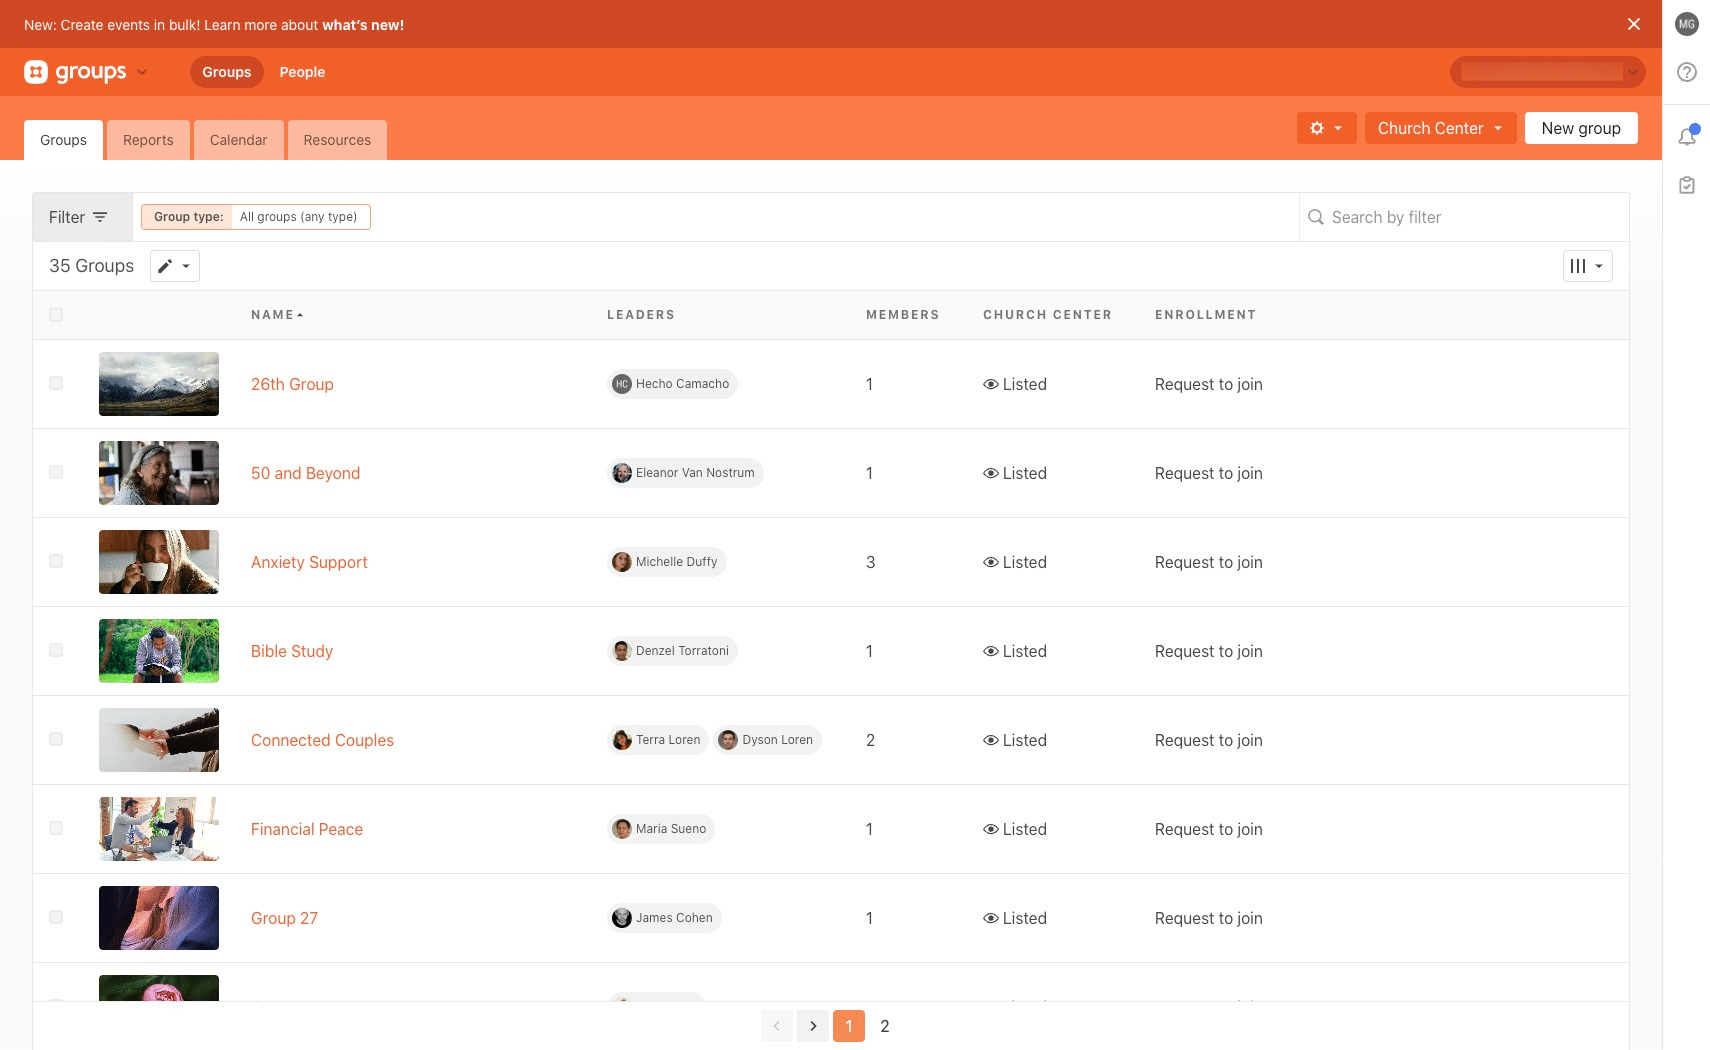
To update your groups, click on "Groups" in the top left corner.
Select the group that you would like to make changes to
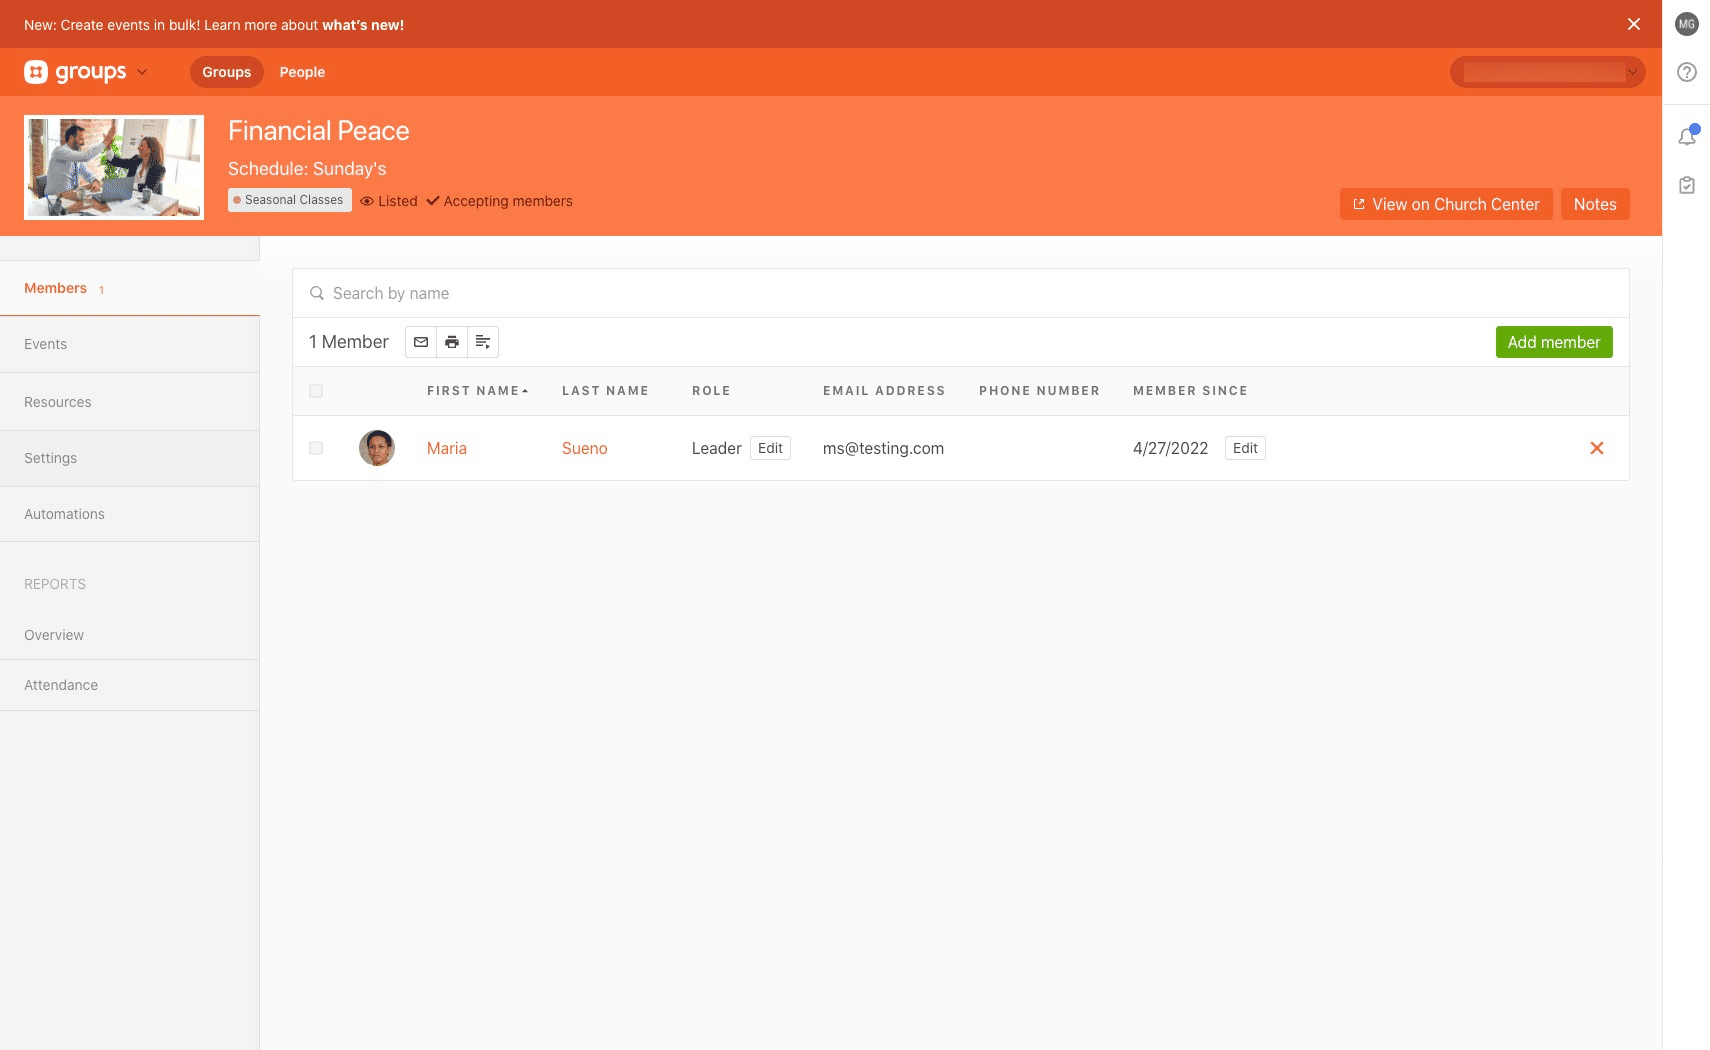
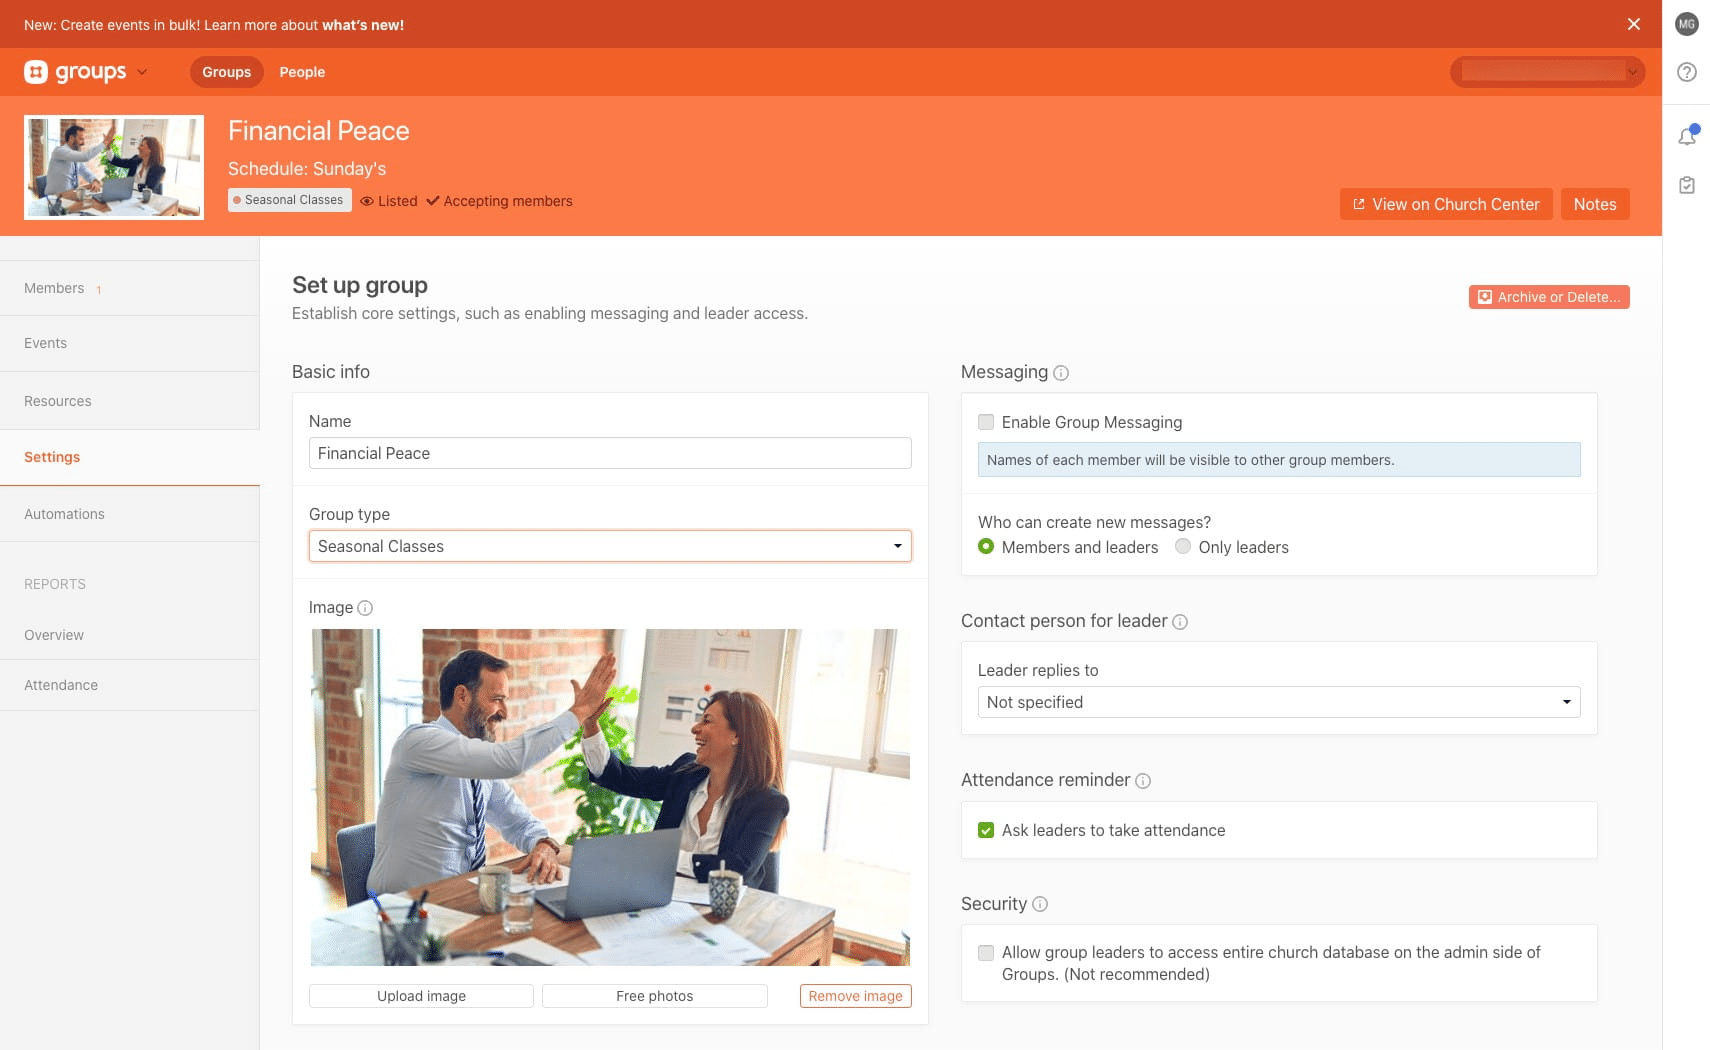
Click on "Settings"
To change the group type click the carrot under "Group type" and make your selection.
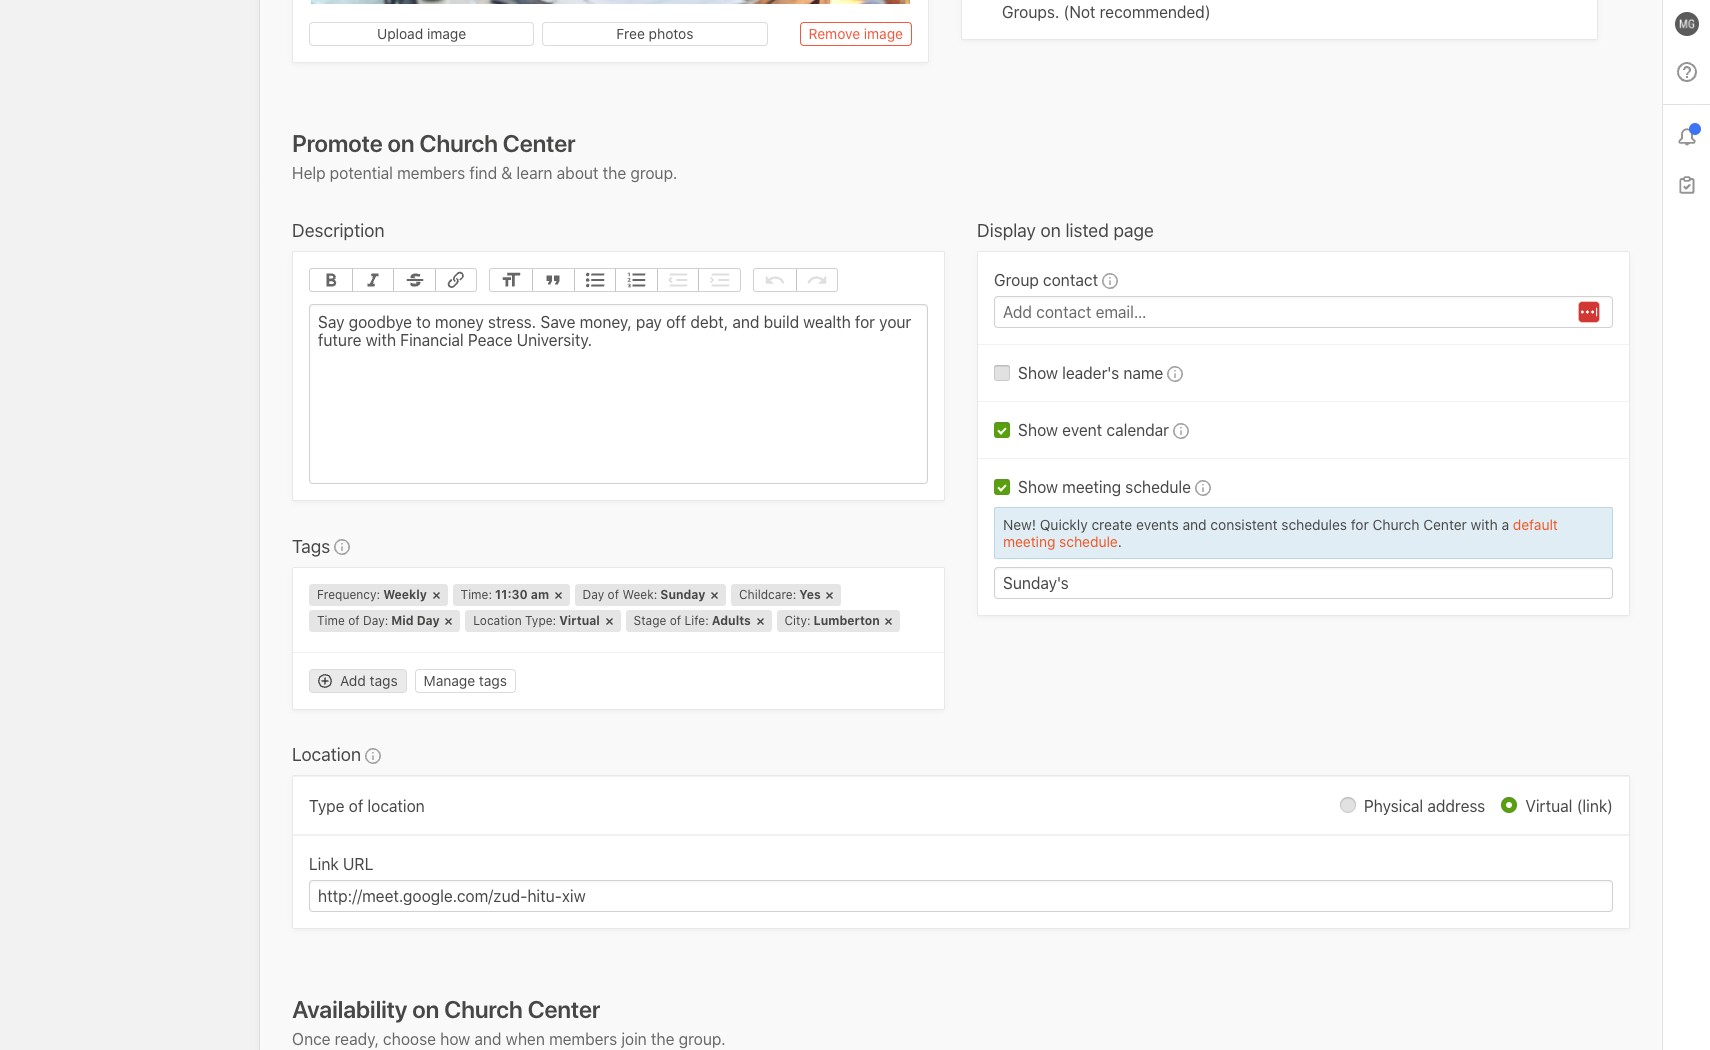
Scroll down to the "Availability on Church Center" section. Click "Close enrollment" to hide this group from the CrossCinq plugin. Click "Open enrollment" to show this group to the CrossCinq plugin.
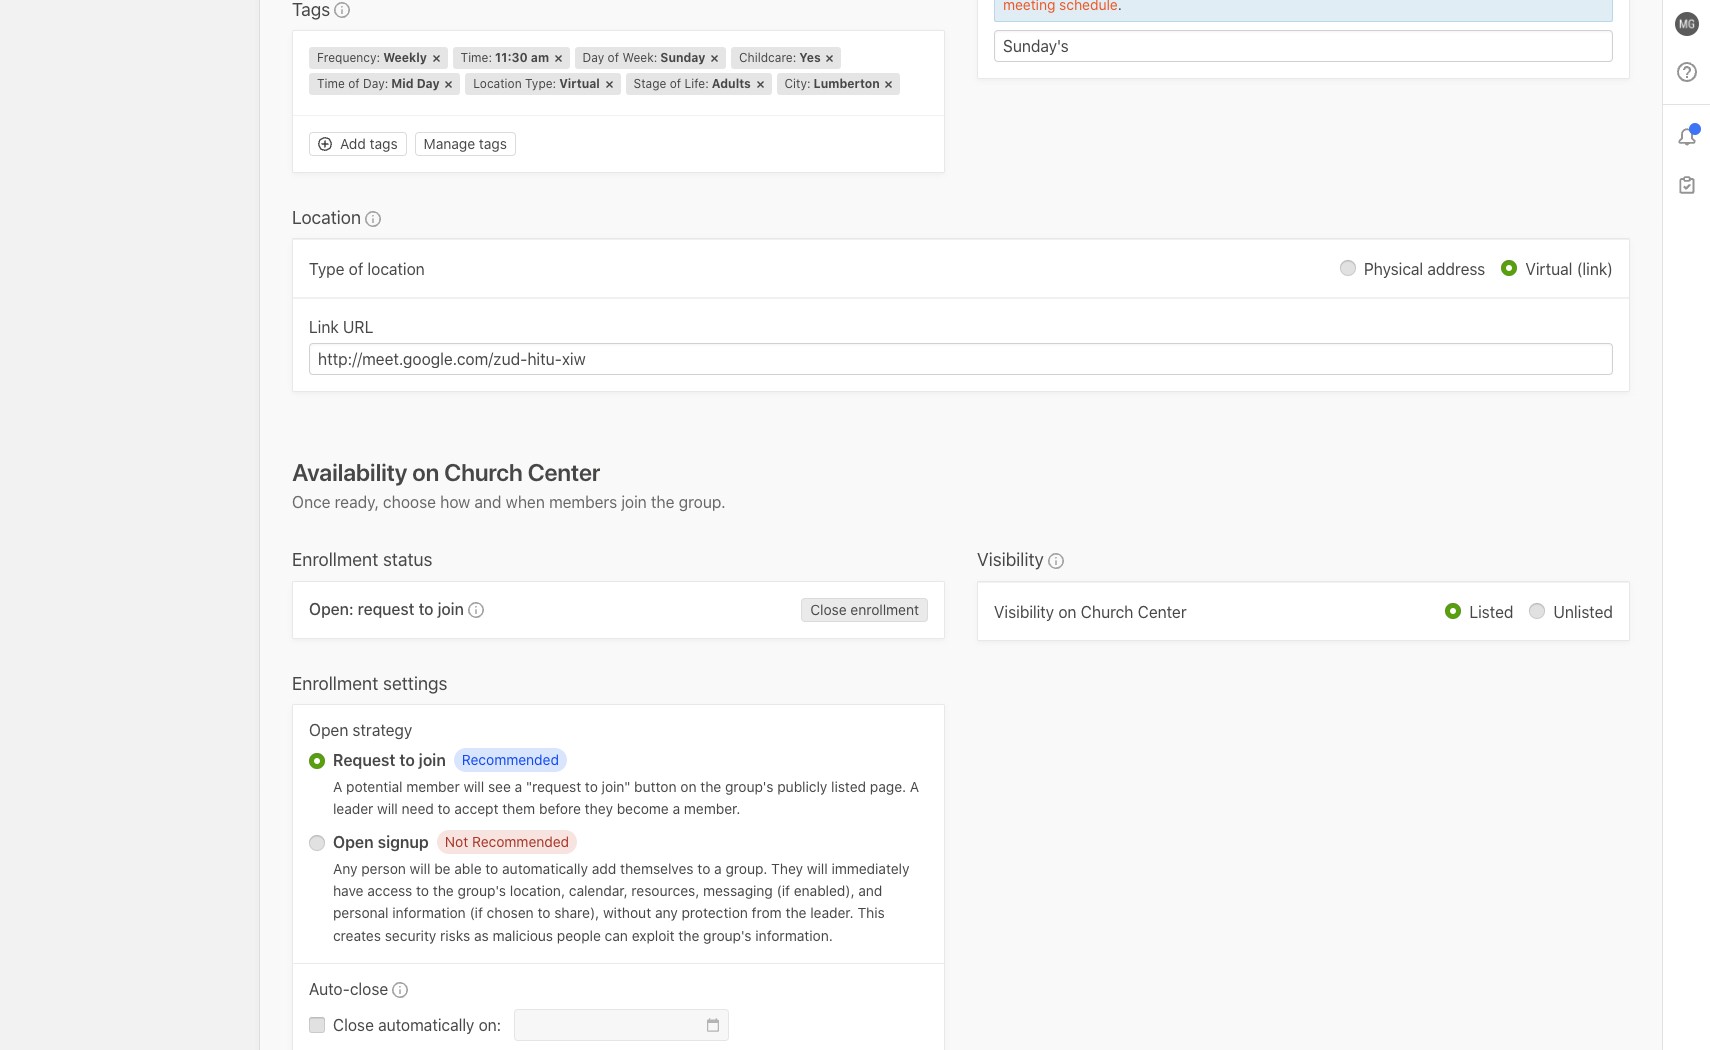
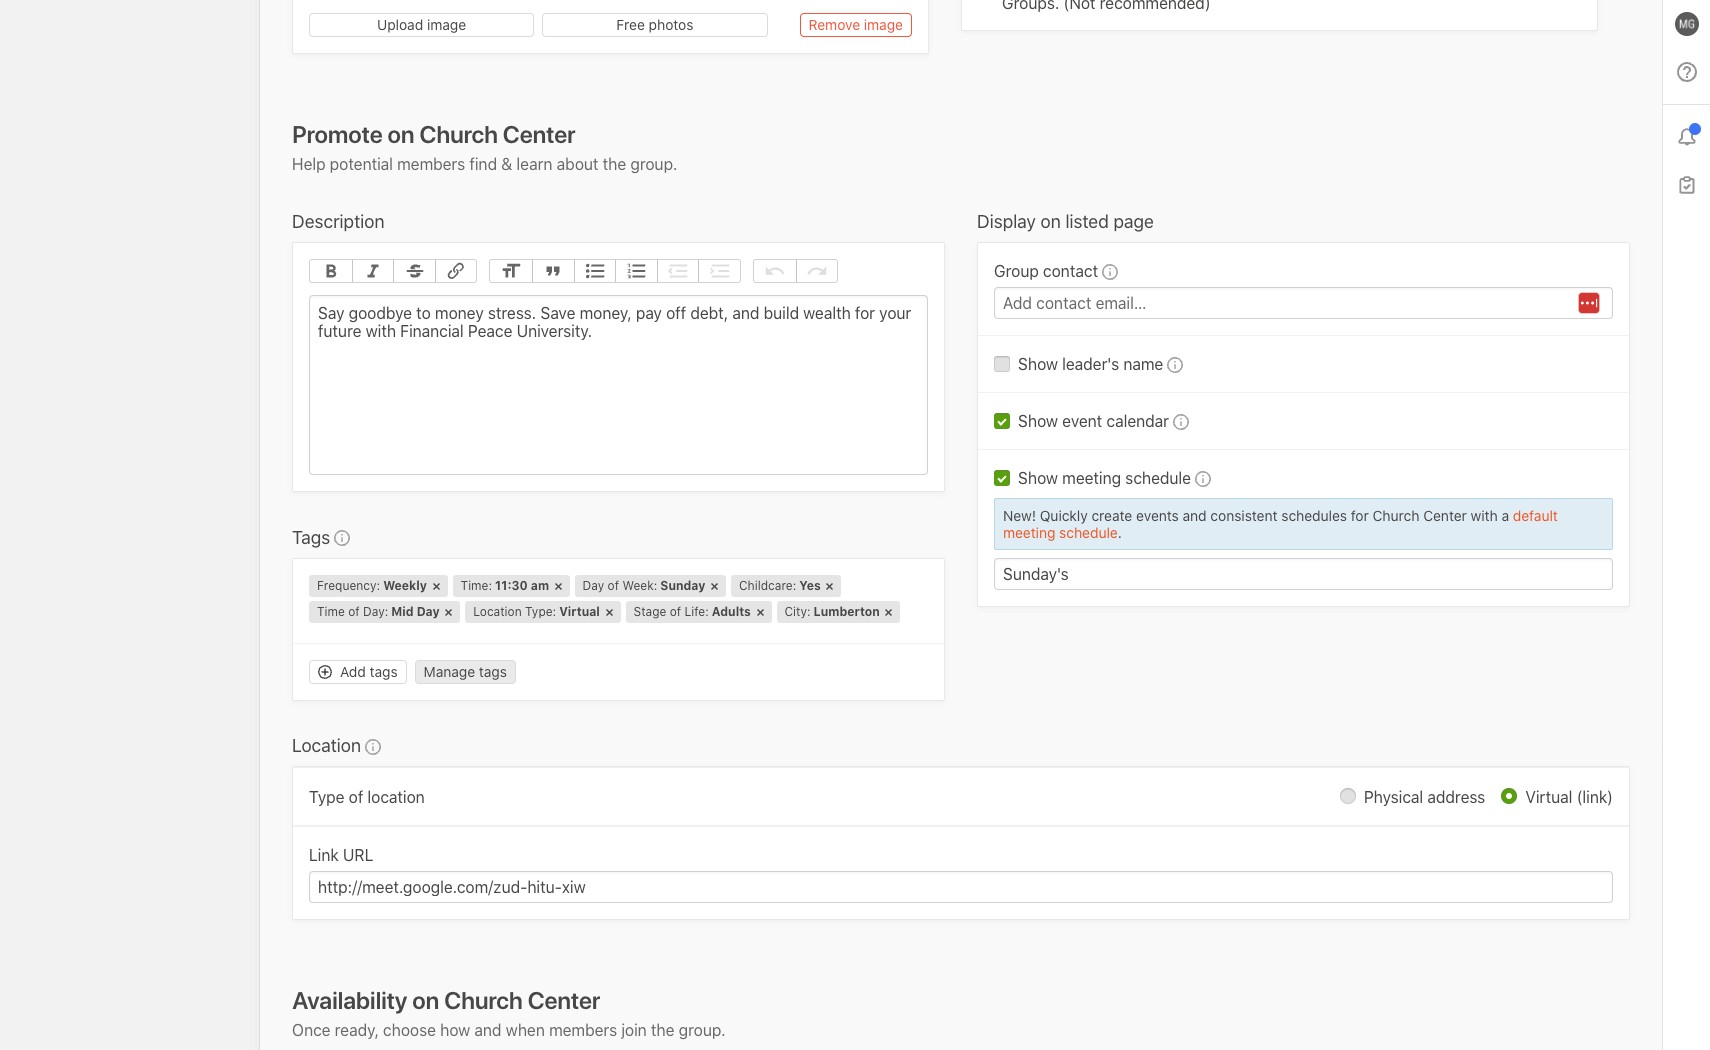
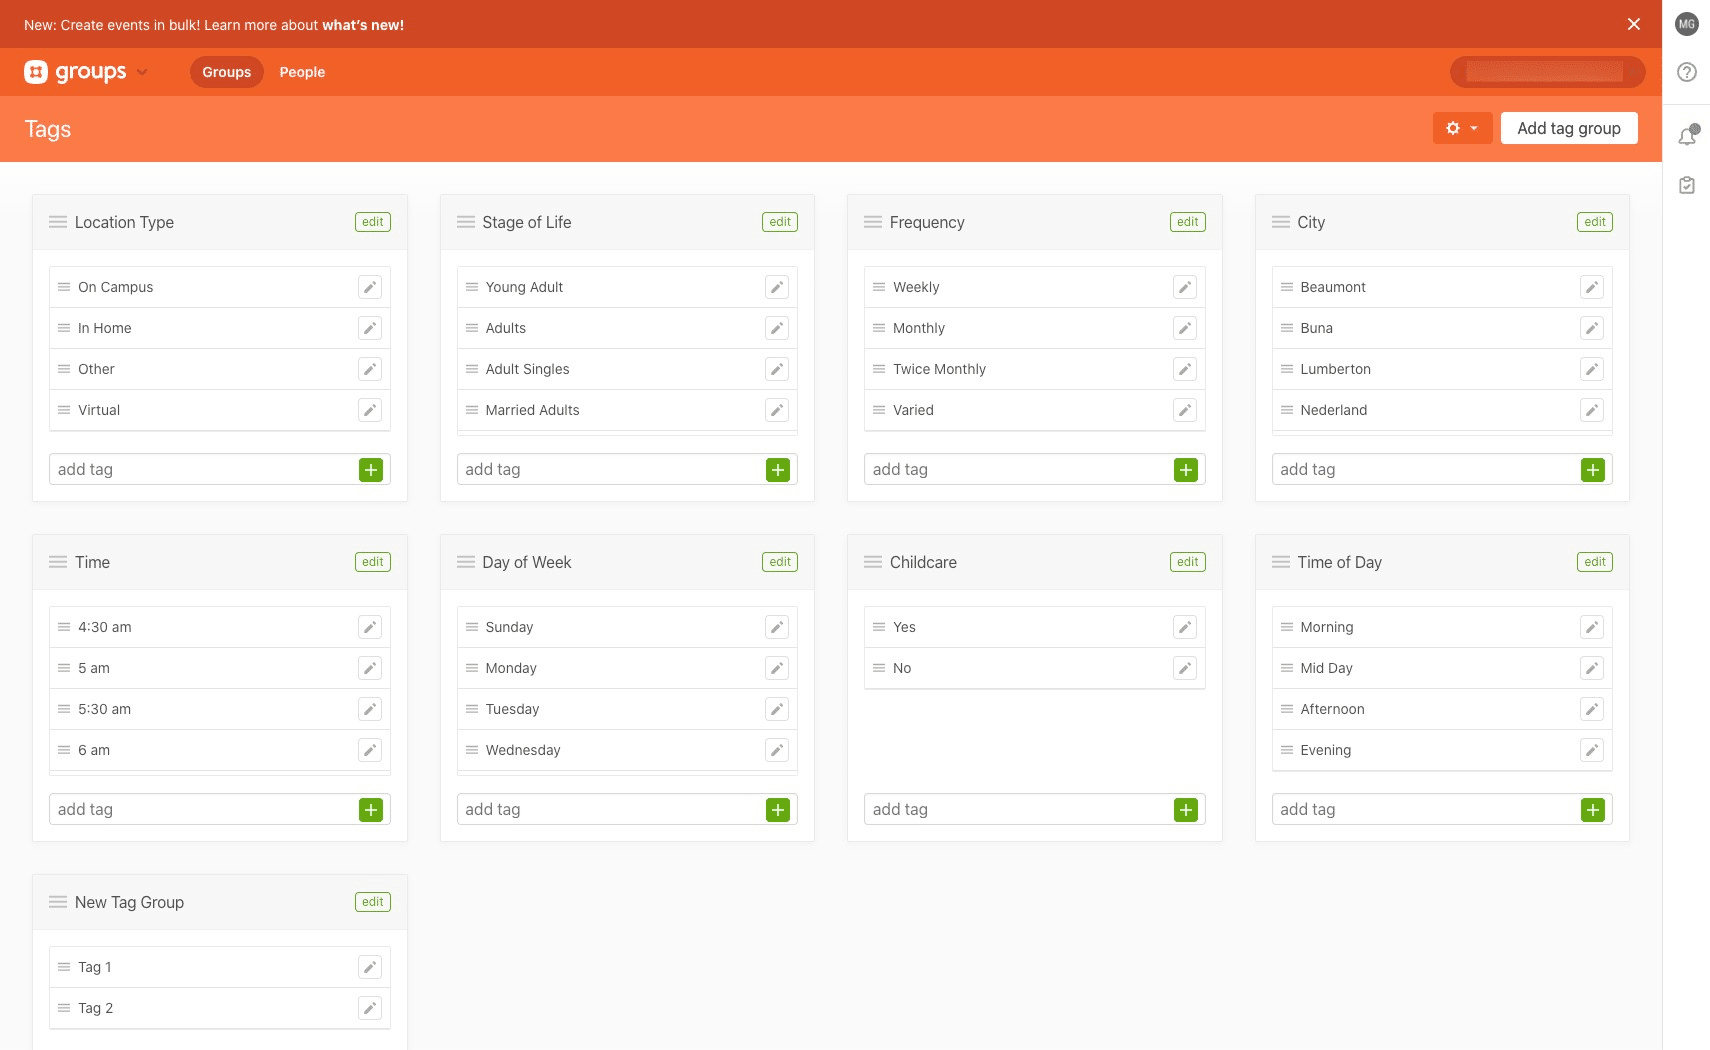
Scroll up to the "Promote on Church Center" section and click on "Manage tags" to add/adjust tag groups and options.
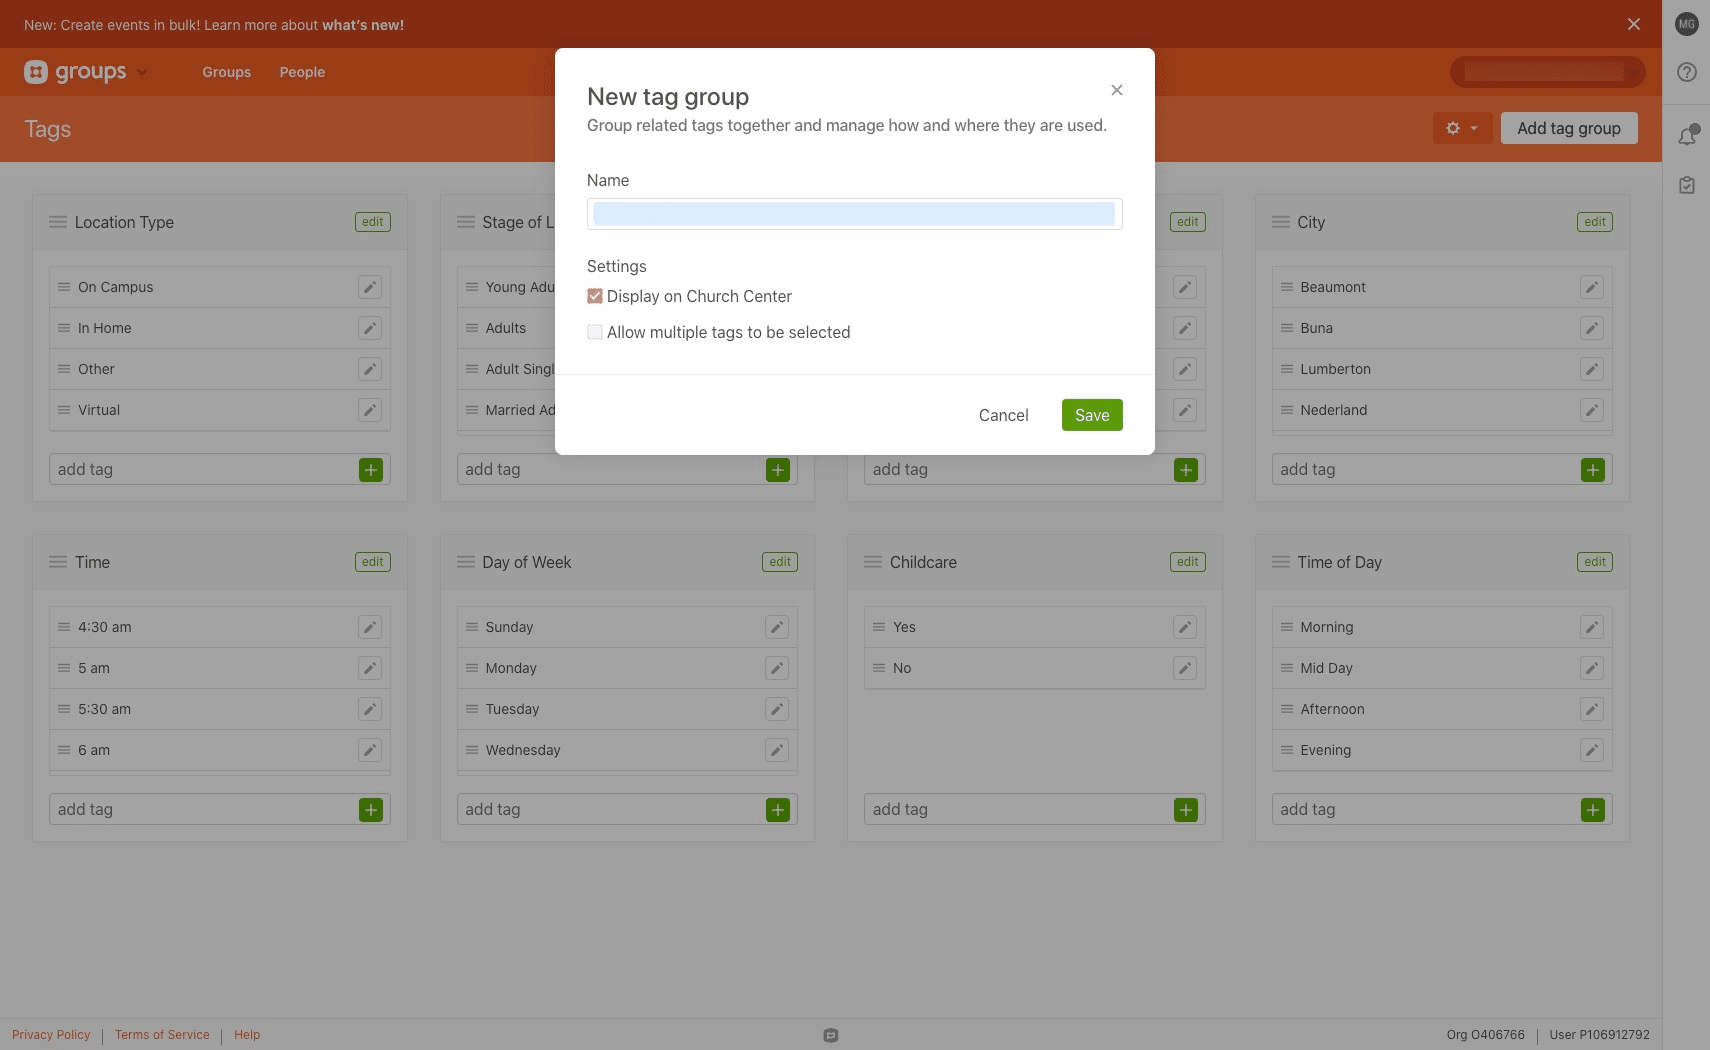
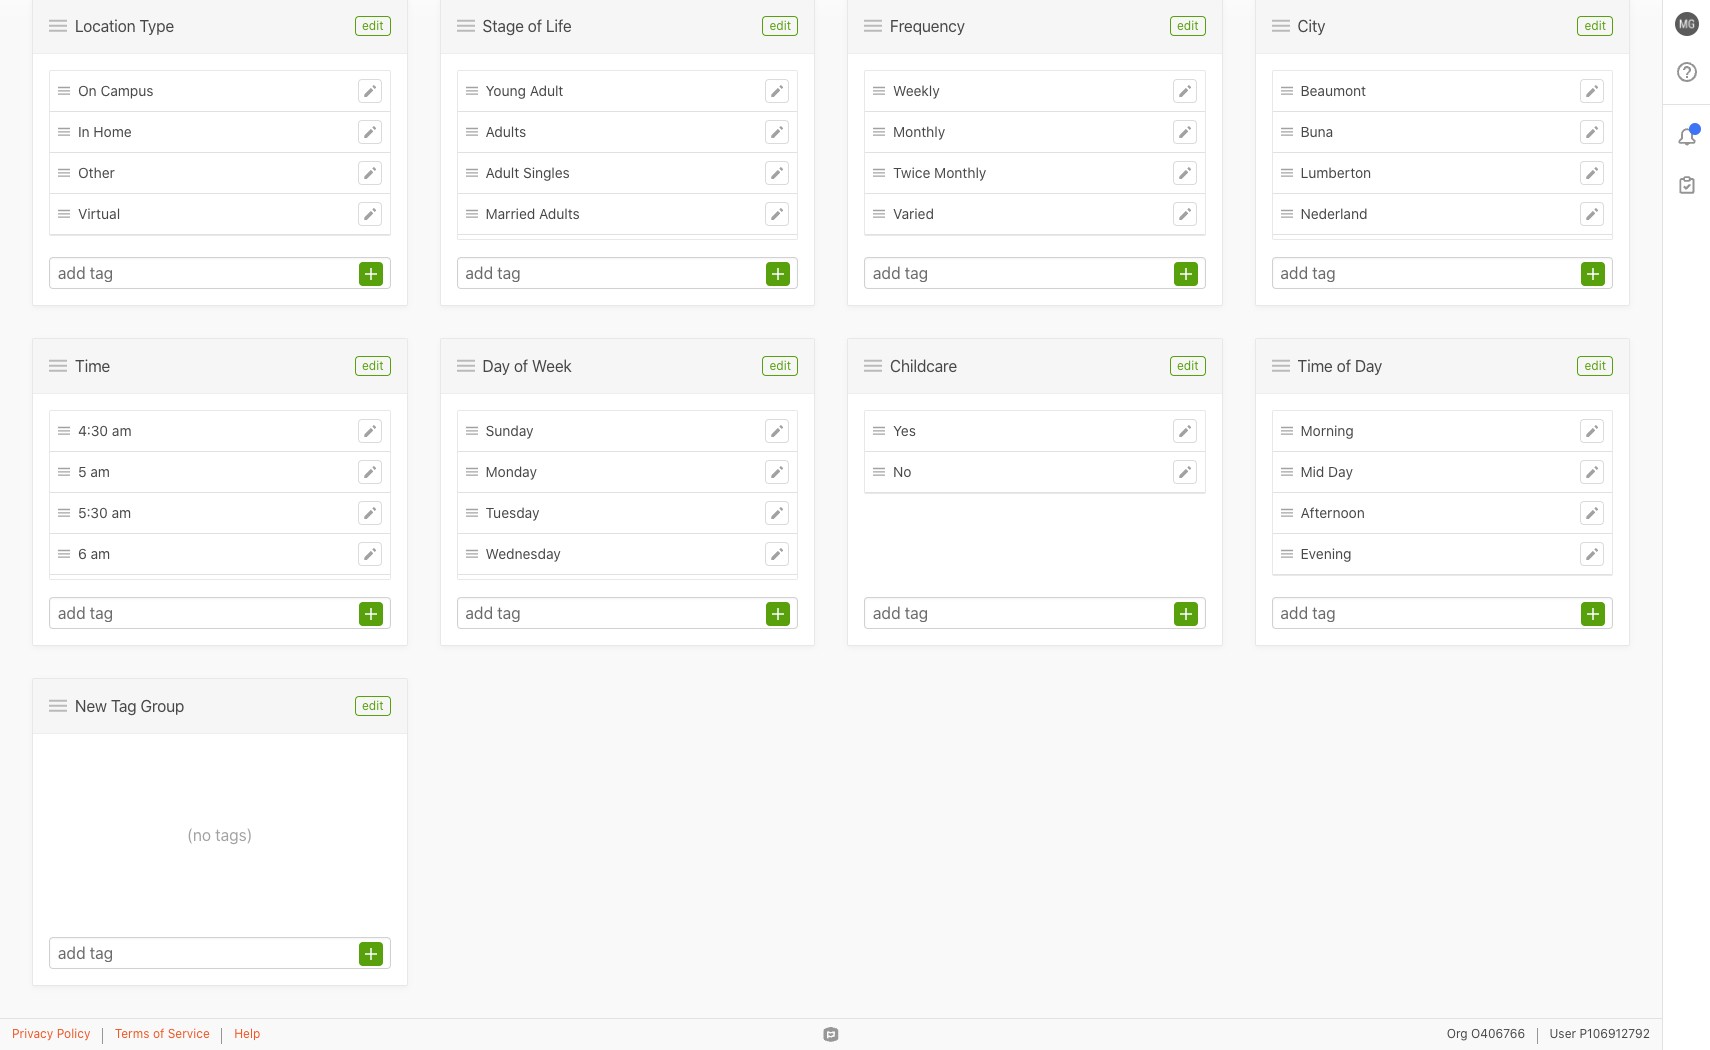
Click on "Add tag group", if you need to add new tag groups.
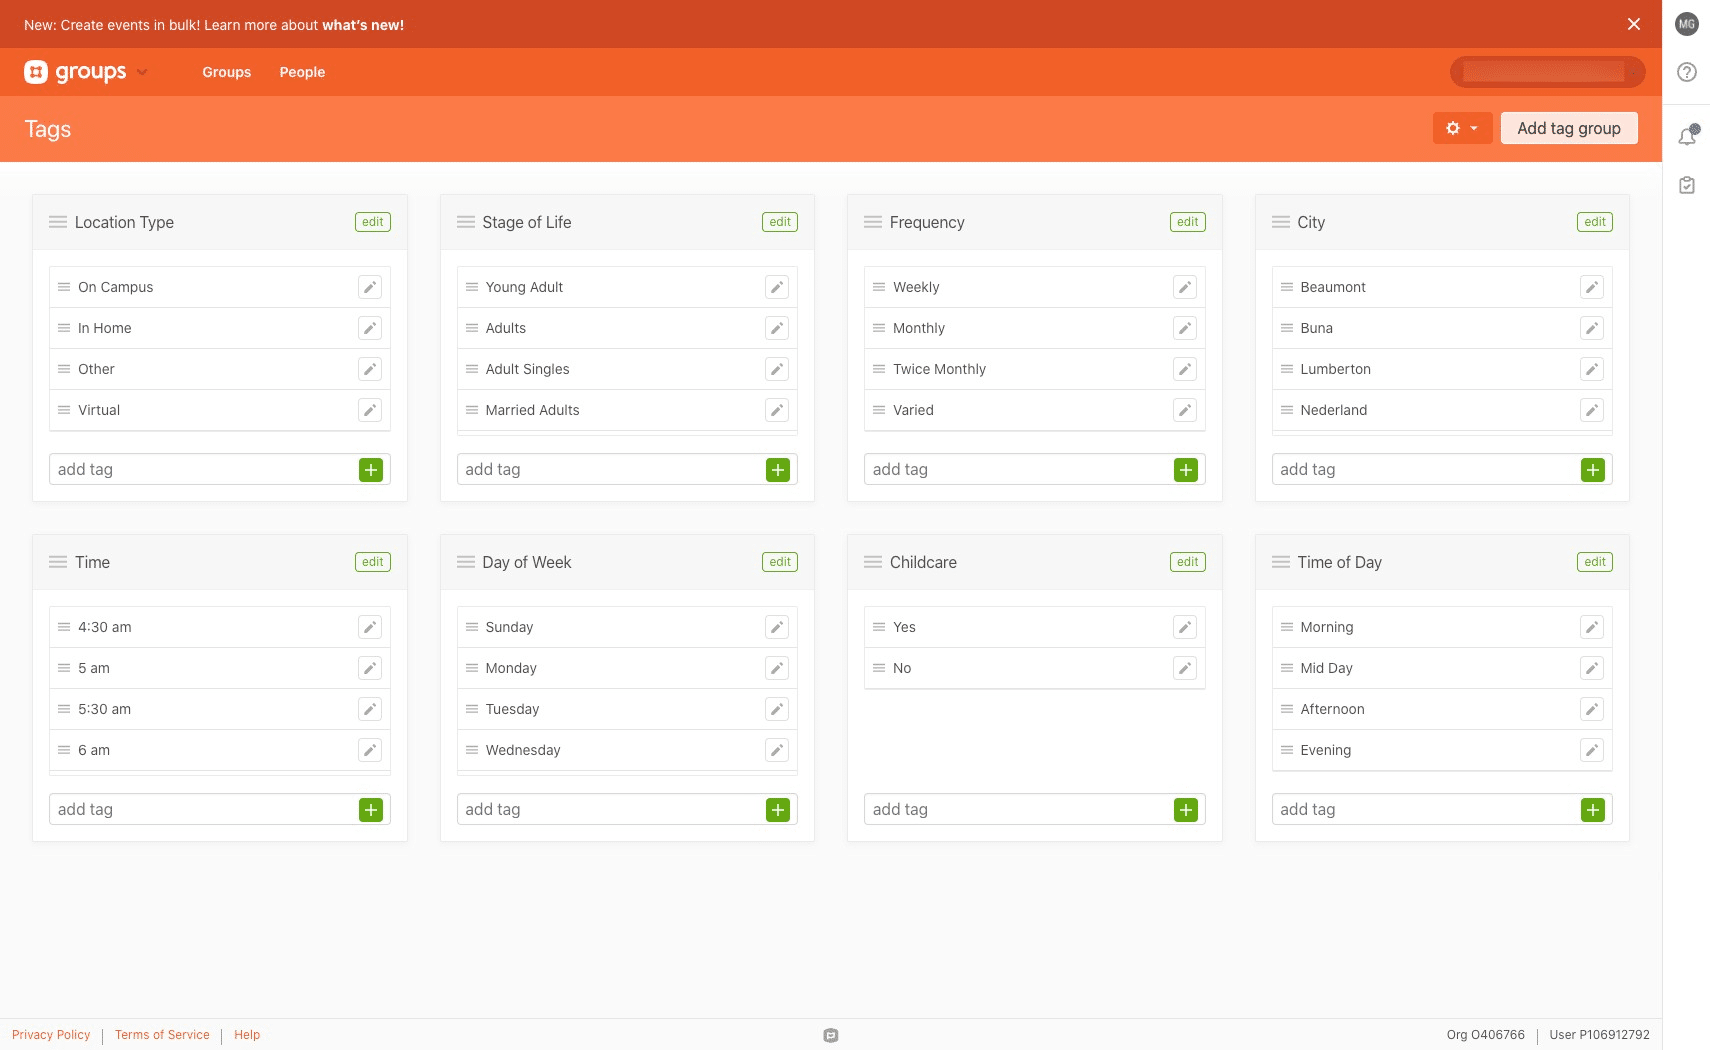
Name the group and click "Save"
Click in the text box where it says "add tag" to add the tags you need. You can press enter or the green "+" button when you're done and it will add the tag.
When you're done and ready to go back to your group to add tags, click on "Groups"
Select the group that you would like to make changes to

Click on "Settings"

Scroll down to the "Tags" section and click on "Add tags". Scroll through the tags and make the appropriate selections for the selected group.